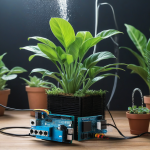
reating a plant watering system using Arduino can be a fun and practical project, especially if you want to automate the watering of your indoor or outdoor plants. Below are the basic steps to get started with a simple Arduino-based plant watering system:
Components You’ll Need:
- Arduino board (e.g., Arduino Uno)
- Soil moisture sensor
- Water pump or solenoid valve
- Tubing or drip irrigation system
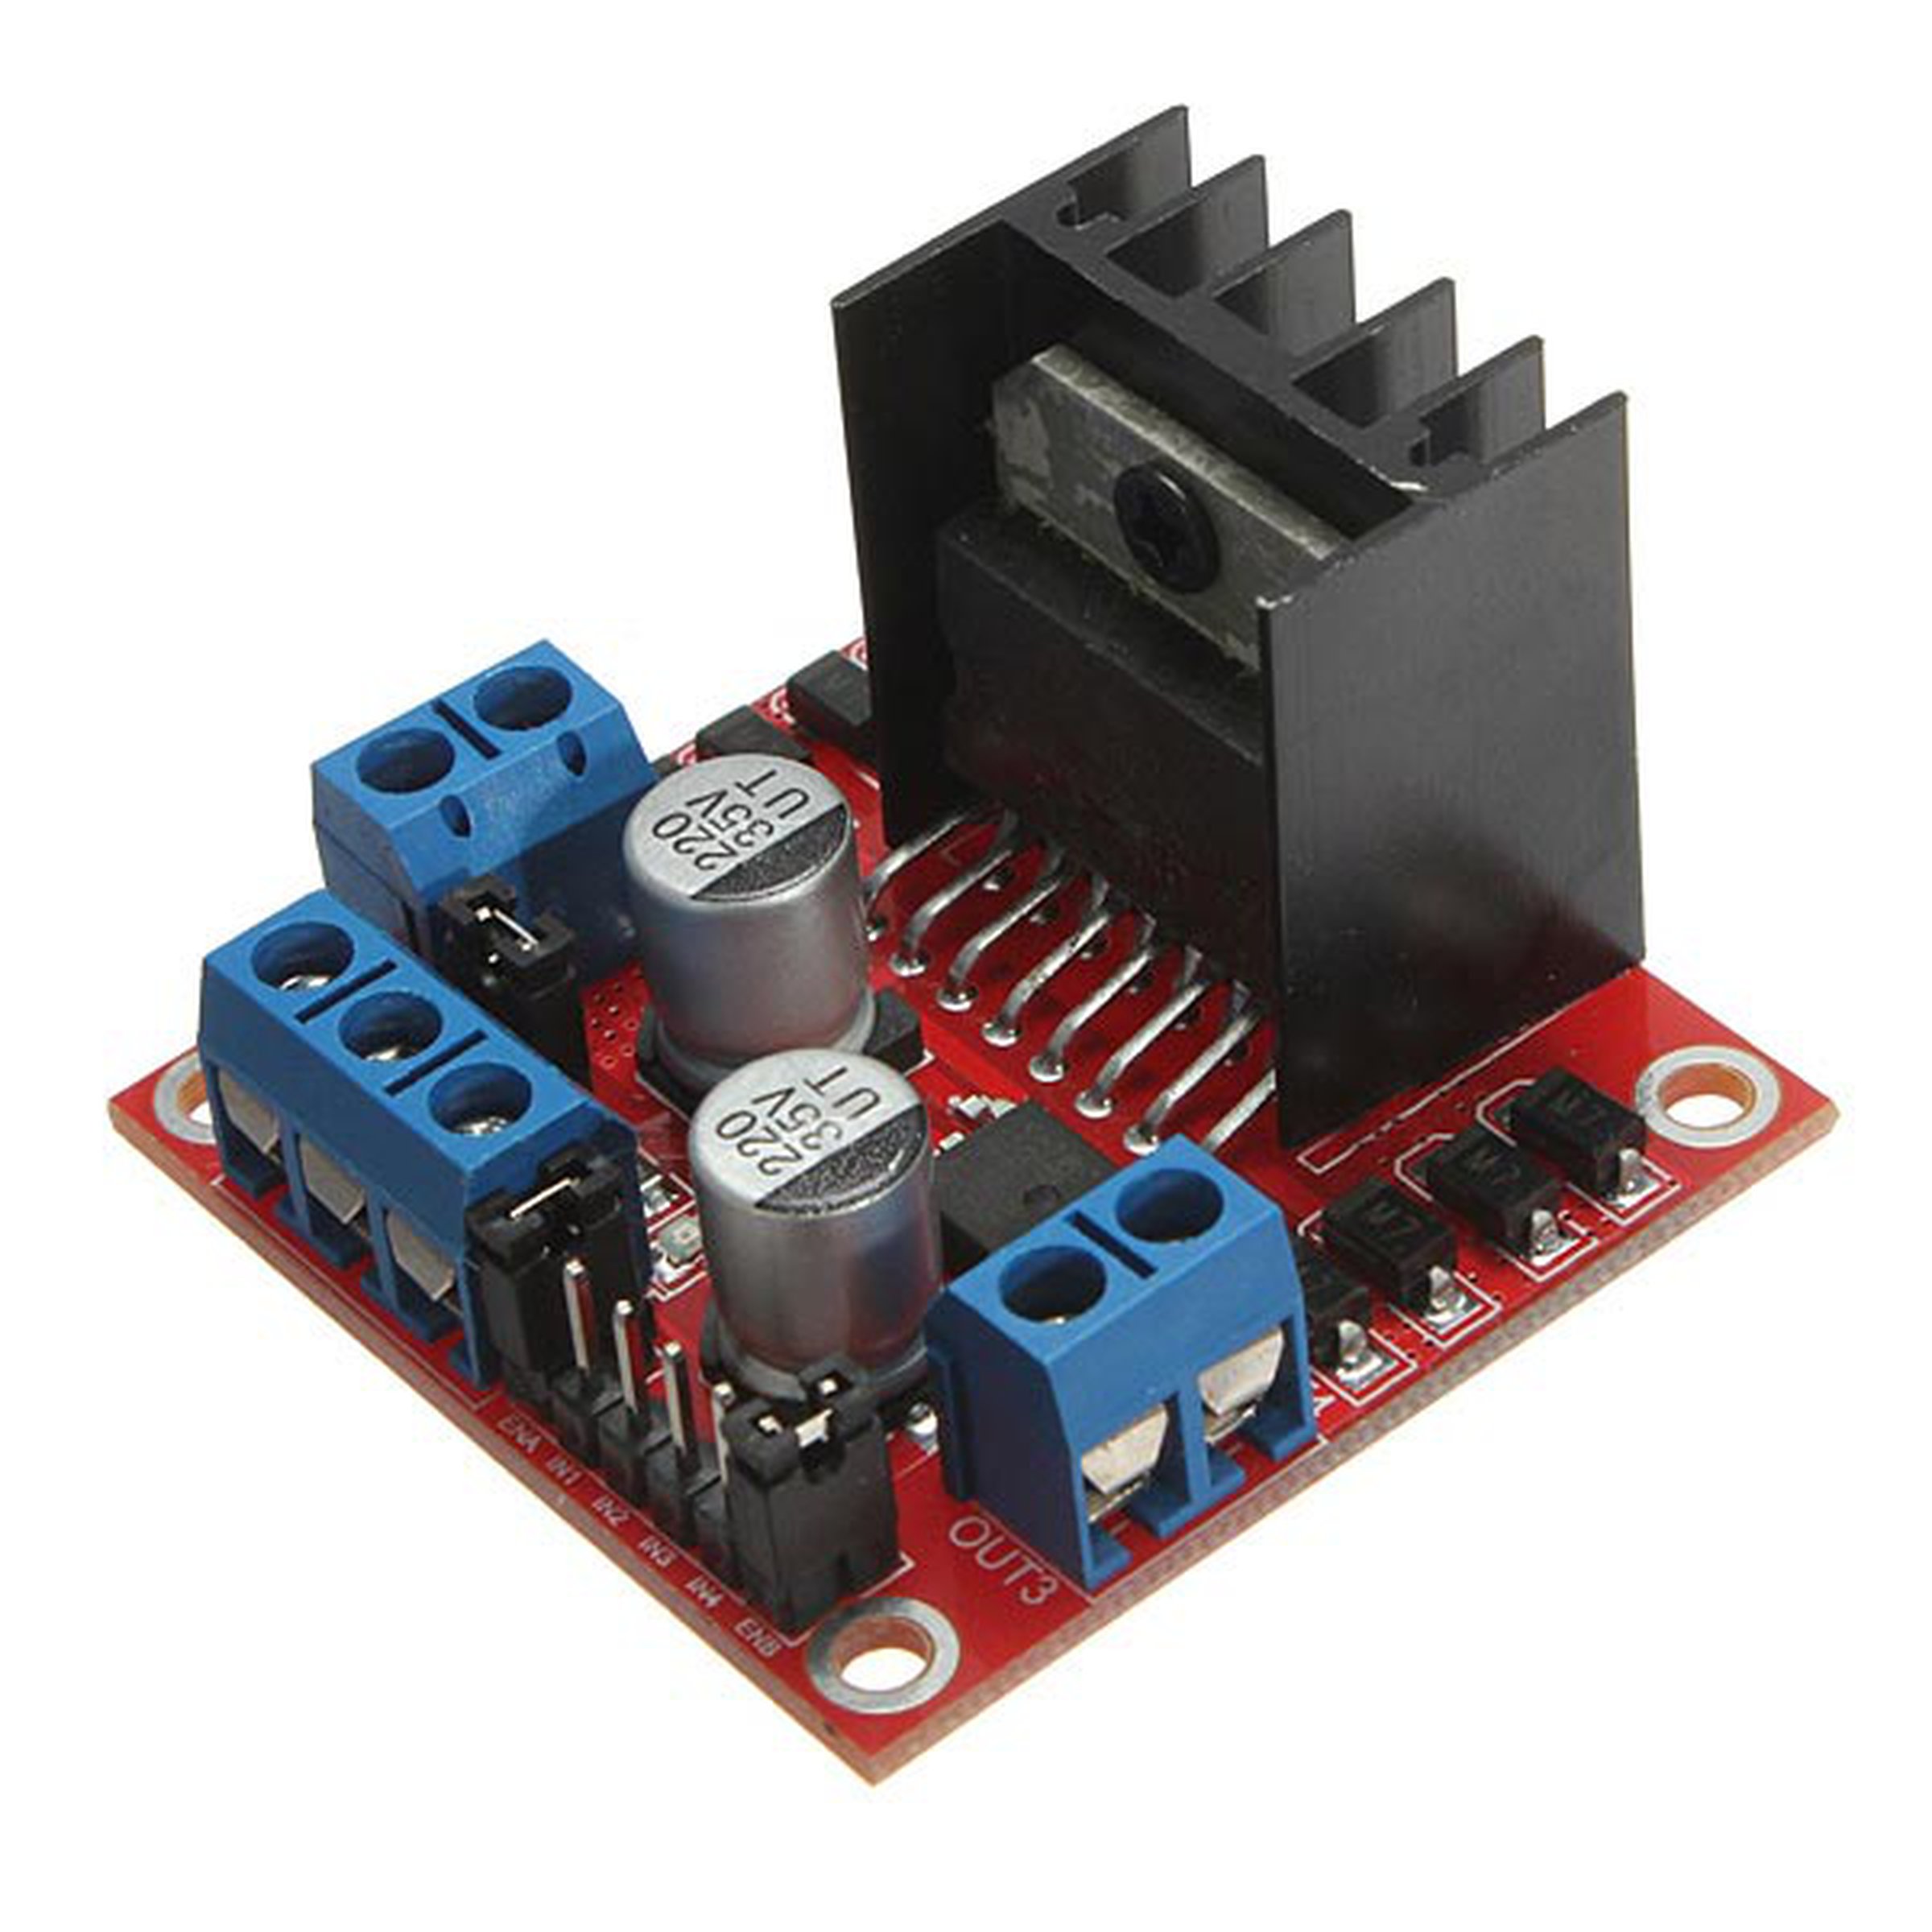
- Relay module (if using a high-power water pump)
- Water reservoir (e.g., a water container or bottle)
- Power supply for the water pump (if needed)
- Jumper wires
- Breadboard or custom PCB (for prototyping)
Steps to Build the Plant Watering System:
- Connect the Soil Moisture Sensor:Connect the VCC pin of the soil moisture sensor to 5V on the Arduino. Connect the GND pin of the sensor to GND on the Arduino. Connect the A0 (analog) pin of the sensor to an analog input pin on the Arduino (e.g., A0).
- Connect the Water Pump or Solenoid Valve: Connect the water pump’s positive (or valve’s control) wire to a digital output pin on the Arduino (e.g., D2). Connect the water pump’s negative (or valve’s common) wire to GND on the Arduino. If the water pump requires more power than the Arduino can provide (likely for larger pumps), use a relay module to control it. Connect the relay module as needed.
- Assemble the Watering Mechanism: Attach tubing or a drip irrigation system to the outlet of the water pump or solenoid valve. Position the tubing or drip emitters near the plants you want to water.
- Set Up Power Supply: If your water pump requires a separate power supply, connect it to an appropriate power source.
- Write the Arduino Code: Write code to read the soil moisture sensor’s analog value and determine if it’s below a certain threshold (indicating the need for watering). When the soil moisture is too low, trigger the water pump or solenoid valve to start watering the plants for a set duration. Include delays between watering cycles to prevent overwatering. You may also want to incorporate features like a display or LEDs to indicate the system’s status.
Here’s a simplified example of Arduino code to get you started (assuming the soil moisture sensor values decrease when soil is dry):
const int moisturePin = A0;
const int pumpPin = 2;
void setup() {
pinMode(pumpPin, OUTPUT);
}
void loop() {
int moistureValue = analogRead(moisturePin);
// Adjust the threshold value as needed for your plants and sensor.
if (moistureValue < 500) {
// Soil is dry, turn on the water pump for 10 seconds (adjust as needed).
digitalWrite(pumpPin, HIGH);
delay(10000); // 10 seconds
digitalWrite(pumpPin, LOW);
delay(3600000); // Delay for 1 hour before checking again.
} else {
// Soil is moist, no need to water. Check again in 1 hour.
delay(3600000); // Delay for 1 hour.
}
}
This code is a basic starting point. You can enhance it with features like real-time clock modules, Wi-Fi or Bluetooth connectivity, and more complex watering schedules as your project evolves. Make sure to tailor the code and components to your specific needs and plant types.


