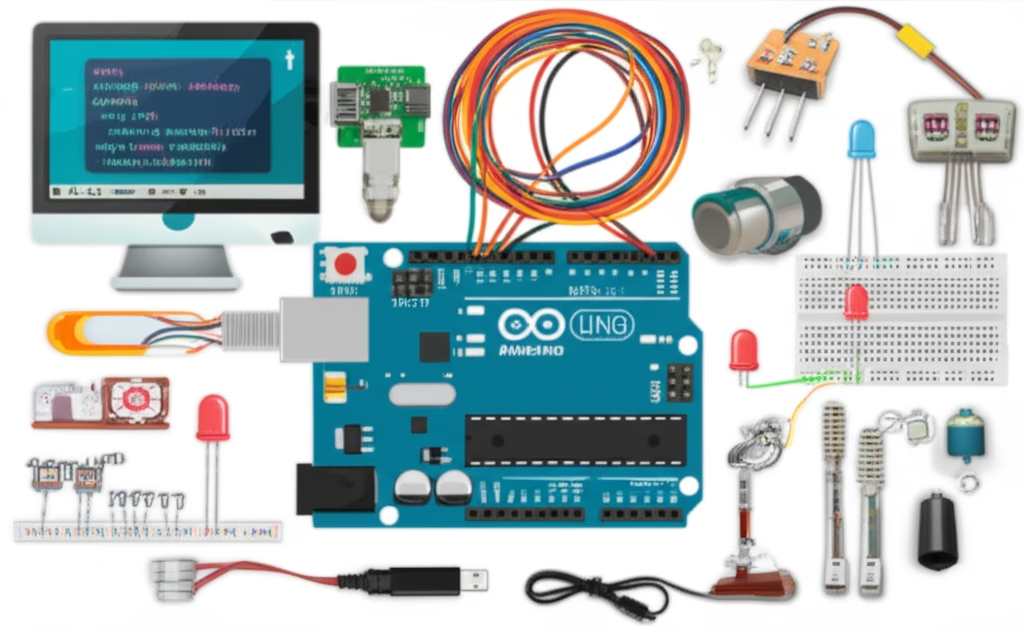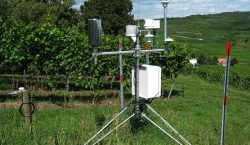
- Creating a weather station project with an Arduino Uno can be a fun and educational project. A basic weather station can measure temperature, humidity, and atmospheric pressure. Here’s a step-by-step guide to get you started:
- Components Needed:
- Arduino Uno
- DHT11 or DHT22 sensor (for temperature and humidity)
- BMP180 or BMP280 sensor (for atmospheric pressure)
- Breadboard and jumper wires
- 10kΩ resistor (for DHT11 sensor, if necessary)
- Display (optional, for displaying data)
- Step-by-Step Instructions:
- Connect the DHT11/DHT22 Sensor:
- Connect the positive (red) wire to the 5V pin on the Arduino Uno.
- Connect the negative (black) wire to the GND (ground) pin.
- Connect the data (white/yellow) wire to a digital pin (e.g., D2).
- If using a DHT11, connect a 10kΩ resistor between the data pin and the 5V pin.
- Connect the BMP180/BMP280 Sensor:
- Connect the VCC (power) pin to the 5V pin on the Arduino.
- Connect the GND (ground) pin to the GND pin on the Arduino.
- Connect the SDA pin to A4 on the Arduino (analog pin 4).
- Connect the SCL pin to A5 on the Arduino (analog pin 5).
- Install Necessary Libraries:
- You’ll need libraries for both the DHT sensor and the BMP sensor. You can install them using the Arduino Library Manager.
- Upload the Code:
- Here’s a basic example code that reads temperature, humidity, and pressure from the sensors and prints the data to the serial monitor:
#include <Wire.h>
#include <Adafruit_Sensor.h>
#include <Adafruit_BMP085_U.h>
#include <DHT.h>
#define DHTPIN 2
#define DHTTYPE DHT11
DHT dht(DHTPIN, DHTTYPE);
Adafruit_BMP085_Unified bmp = Adafruit_BMP085_Unified(10085);
void setup() {
Serial.begin(9600);
if (!bmp.begin()) {
Serial.println(“Could not find a valid BMP085 sensor, check wiring!”);
while (1);
}
dht.begin();
}
void loop() {
delay(2000); // Delay between measurements
sensors_event_t event;
bmp.getEvent(&event);
float temperature = dht.readTemperature();
float humidity = dht.readHumidity();
float pressure = event.pressure / 100.0F;
Serial.print(“Temperature: “);
Serial.print(temperature);
Serial.println(” °C”);
Serial.print(“Humidity: “);
Serial.print(humidity);
Serial.println(“%”);
Serial.print(“Pressure: “);
Serial.print(pressure);
Serial.println(” hPa”);
Serial.println();
delay(10000); // Delay between readings
}
- Monitor the Results:
- Open the Arduino IDE, connect your Arduino Uno to your computer, select the correct board and port, and then upload the code.
- Open the serial monitor (Tools -> Serial Monitor) to view the sensor readings.
- Display the Data (Optional):
- You can connect an OLED or LCD display to your Arduino to display the weather data in real-time.
- Enclosure (Optional):
- Consider placing your components in a protective enclosure to shield them from the elements if you plan to use your weather station outdoors.
That’s it! You now have a basic weather station using an Arduino Uno. You can expand on this project by adding more sensors, data logging, or even connecting it to the internet for remote monitoring.