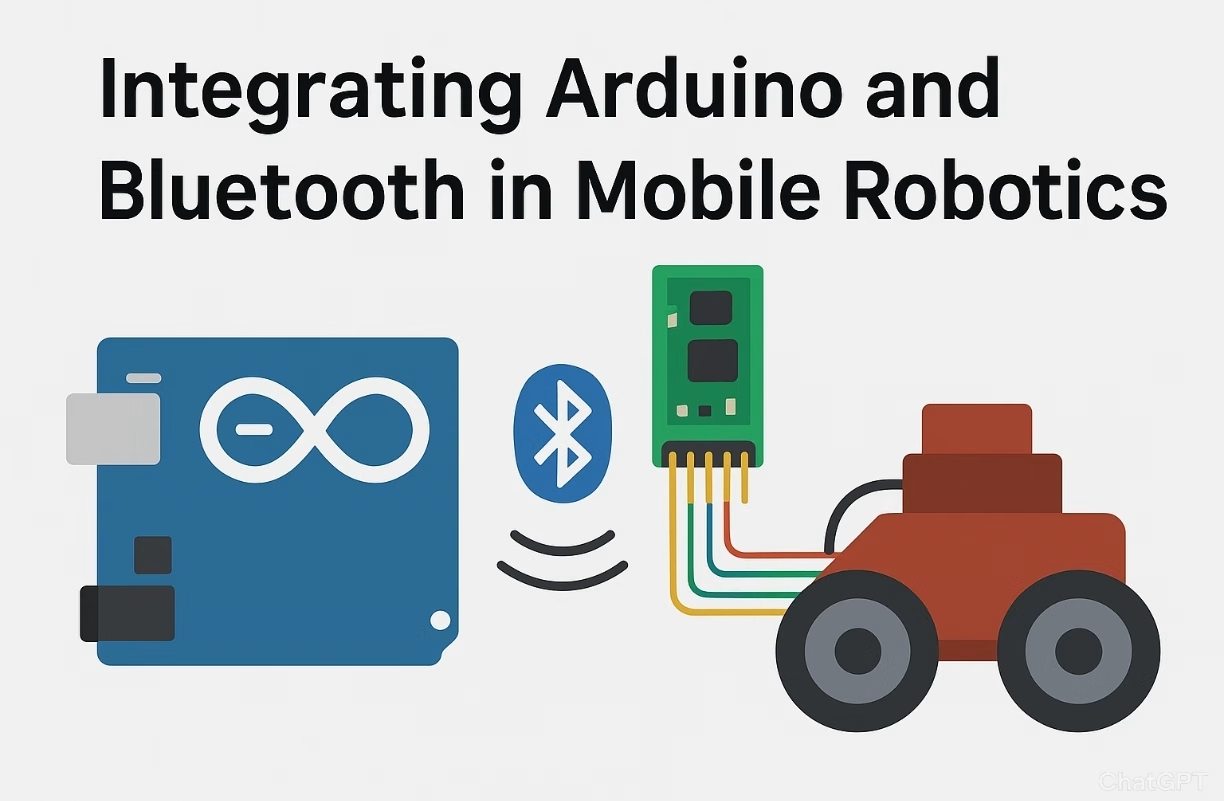
How to integrate Arduino and Bluetooth with Scratch for mobile robotics, including circuit diagrams, Scratch blocks, Arduino code, and a learning-focused structure:
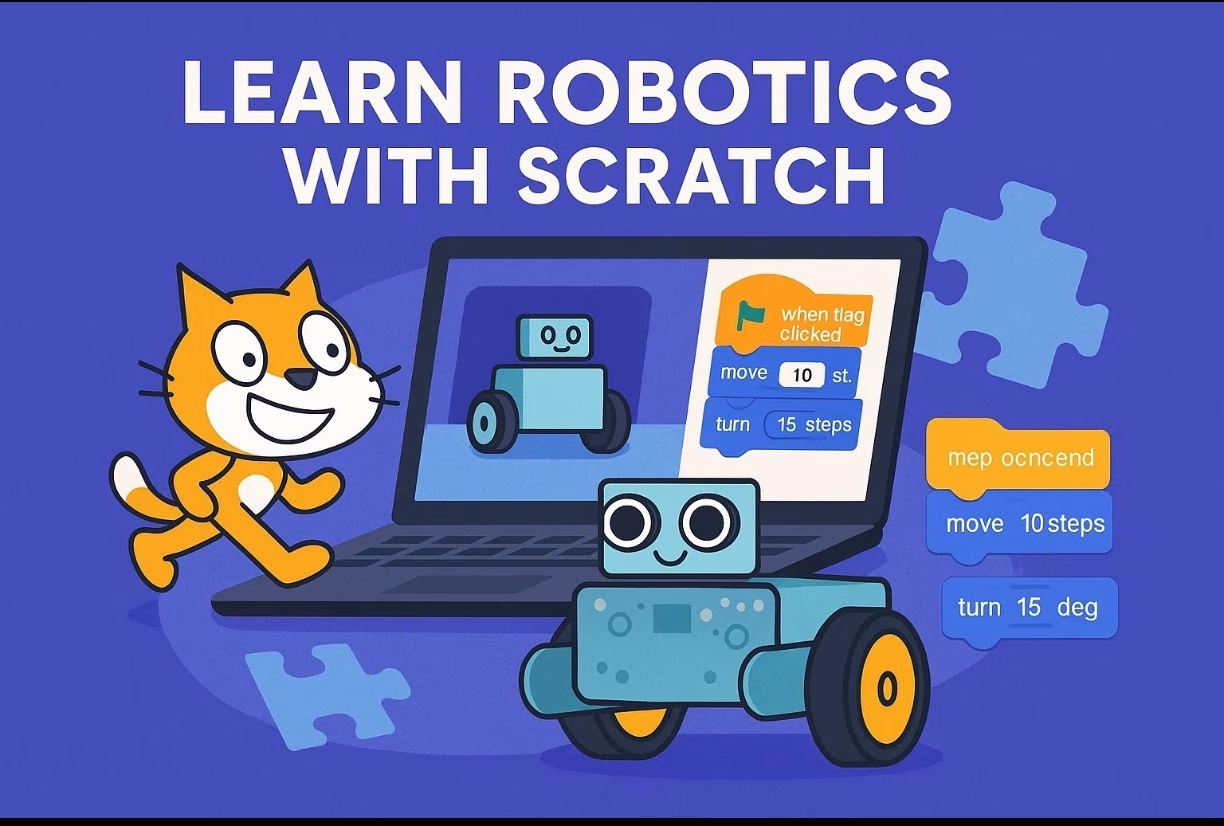
Learn how to control a mobile robot using Scratch and an Arduino board with Bluetooth communication.
🎯 Objective
This project teaches how to connect an Arduino robot to Scratch via Bluetooth and use Scratch blocks to control the robot wirelessly from a computer or tablet.
⚠️ Attention !
Before starting any project implementation, please read the Safety & Legal Disclaimer section at the bottom of this page. It contains important guidelines to ensure safe and responsible usage.
🧰 Components Required
| Component | Quantity |
|---|---|
| Arduino Uno / Nano | 1 |
| HC-05 Bluetooth Module | 1 |
| L298N Motor Driver | 1 |
| DC Motors (2 wheels) | 2 |
| Robot Chassis | 1 |
| 18650 Battery Pack | 1 |
| Jumper Wires | Several |
| Android Device (Scratch Link alternative) or PC with Bluetooth | 1 |
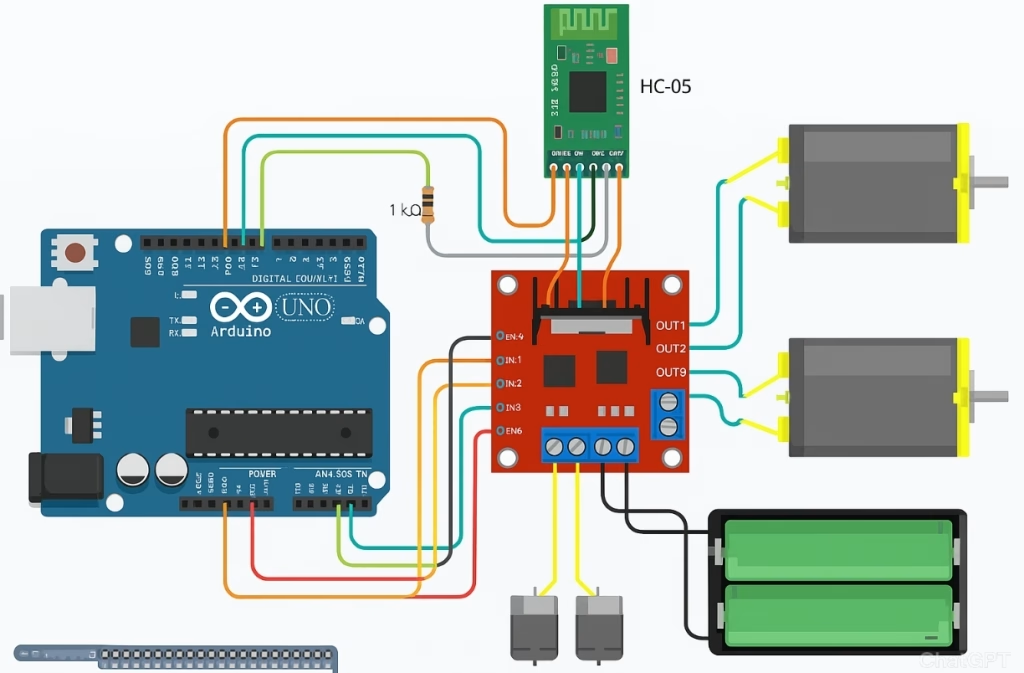
🔌 Circuit Diagram (Wiring Overview)
Connections:
- HC-05 Bluetooth:
- VCC → 5V (Arduino)
- GND → GND
- TX → RX (Arduino)
- RX → TX (Arduino via 1kΩ + 2kΩ voltage divider to avoid 5V damage)
- L298N Motor Driver:
- IN1, IN2 → Arduino Pins 8, 9 (Left Motor)
- IN3, IN4 → Arduino Pins 10, 11 (Right Motor)
- ENA, ENB → Connect jumper to enable motors
- VCC (motor power) → Battery Pack +
- GND → Arduino GND and Battery –
- 5V → not connected (use external battery)
🔁 Arduino Code
✅ Full Arduino Code for Bluetooth-Controlled Mobile Robot
char command; // Received command via Bluetooth

void setup() {
  Serial.begin(9600); // Start serial communication with HC-05
  // Set motor control pins as output
  pinMode(8, OUTPUT);  // Left Motor IN1
  pinMode(9, OUTPUT);  // Left Motor IN2
  pinMode(10, OUTPUT); // Right Motor IN3
  pinMode(11, OUTPUT); // Right Motor IN4
}

void loop() {
  // Check if data is available from Bluetooth
  if (Serial.available() > 0) {
    command = Serial.read(); // Read the incoming character

    // Decide action based on command
    switch (command) {
      case 'F': // Forward
        digitalWrite(8, HIGH);
        digitalWrite(9, LOW);
        digitalWrite(10, HIGH);
        digitalWrite(11, LOW);
        break;

      case 'B': // Backward
        digitalWrite(8, LOW);
        digitalWrite(9, HIGH);
        digitalWrite(10, LOW);
        digitalWrite(11, HIGH);
        break;

      case 'L': // Turn Left
        digitalWrite(8, LOW);
        digitalWrite(9, HIGH);
        digitalWrite(10, HIGH);
        digitalWrite(11, LOW);
        break;

      case 'R': // Turn Right
        digitalWrite(8, HIGH);
        digitalWrite(9, LOW);
        digitalWrite(10, LOW);
        digitalWrite(11, HIGH);
        break;

      case 'S': // Stop
        digitalWrite(8, LOW);
        digitalWrite(9, LOW);
        digitalWrite(10, LOW);
        digitalWrite(11, LOW);
        break;
    }
  }
}
📌 Notes:
- Baud rate is
9600, which is default for HC-05. - Commands are single characters:
F= ForwardB= BackwardL= LeftR= RightS= Stop
📱 Setting up Bluetooth with Scratch
✅ Option A: Scratch with Android (using Bluetooth Serial Controller app)
- Upload Arduino code to your board.
- Pair HC-05 with your phone (PIN:
1234or0000). - Open Bluetooth Serial Controller or Serial Bluetooth Terminal.
- Customize buttons to send
F,B,L,R, andScharacters. - Press buttons to drive your robot.
✅ Option B: Scratch + Arduino + Bluetooth (via S4A or mBlock)
🧩 With mBlock 5 (from Makeblock):
- Download mBlock 5 (https://mblock.makeblock.com/)
- Connect Arduino via USB and flash custom firmware (
mLinkrequired). - Bluetooth support in Scratch is limited; USB is more stable.
- Alternative: create Scratch-to-Serial bridge using Python or Node.js.
🔍 To use Scratch 3 with Bluetooth reliably, most users create a middle-layer script (e.g., Python) that connects Scratch events to Bluetooth serial output.
🧱 Scratch Blocks Example
When using Bluetooth Serial Controller, you simulate the effect of Scratch blocks. However, if using Scratch extensions or a bridge, the Scratch logic would be like this:
🚗 Basic Scratch Logic for Movement (Pseudocode):
when [Up arrow] key pressed
send [F] over serial

when [Down arrow] key pressed
send [B] over serial

when [Left arrow] key pressed
send [L] over serial

when [Right arrow] key pressed
send [R] over serial

when [Space] key pressed
send [S] over serial
These messages (
F,B,L,R,S) are received by Arduino to control movement.
📹 How It Works
- The Scratch program sends single-letter commands over Bluetooth.
- The Arduino reads the character and sets motor pins accordingly.
- The robot reacts in real time to Scratch commands (wirelessly).
🧪 Learning Outcomes
- Understand Bluetooth serial communication.
- Learn to program both Arduino and Scratch.
- Build and control a mobile robot wirelessly.
- Learn about motor control, wiring, and user interface logic.
🖼️ Optional: Fritzing Diagram Available
📝 Summary
This project introduces students to the powerful combination of visual programming (Scratch) and hardware control (Arduino + Bluetooth). By building a mobile robot and learning to control it from a computer or phone, students gain hands-on STEM skills while engaging with real-world applications of robotics.
💬 Like this project? Share your thoughts and log in to our site for more interactive robotics tutorials with Scratch and Arduino!
📣 Join the Conversation!
💬 What future AI project excites you the most? Leave a comment below or sign in to get updates on AI breakthroughs every week.
✨ Stay curious. Stay inspired. The future is already thinking.
→ 🌐 Visit us weekly for more AI revolutions & behind-the-scenes tech.
👉 Share your thoughts in the comments and join the discussion on ROBOFORUM – the community for future-minded thinkers in robotics and AI!
👇 Leave a comment and join the discussion. If you’re not already subscribed, please subscribe or log in
⚠️ Safety & Legal Disclaimer
These projects arefor educational, prototyping, andideation purposesonly.These systems, developed usingAI logic, should becarefully testedbefore being implemented in the real world, and the accuracy of the electronic devices and connections usedshould be double-checked.All actions, implementations, and outcomes resulting from this project are entirely the responsibility of the developer or individual applying the system.For real-life deployment, the system must be equipped with proper sensors, protective housings, safety mechanisms, and comply with local legal regulations.Any misuse or misinterpretation of the project that results in device damage, data loss, or accidental injury is entirely the user’s responsibility.Always use the projectresponsiblyand perform thoroughextensive testingbefore live use or field deployment.
Supervision & Controls
Especially for users with limited electronics experience, including children, it is strongly advised to work under the constant supervision of an experienced adult or professional when assembling or testing such projects.